HEY! Told you I would write up another blog about how to dye yarn. A few blogs ago I showed one way with
Kool-Aid, but I am always looking for new ways and I came across this concept. I am such a visual person so that is why I love making blogs like this. WITH PICTURES
So here is what you'll need: White vinegar, bowls for each color, something to warm water in, food coloring, spoon, yarn (WOOL BLEND), book, and gloves are a good idea! I dyed my hands...several times.
Lets get this shindig started.
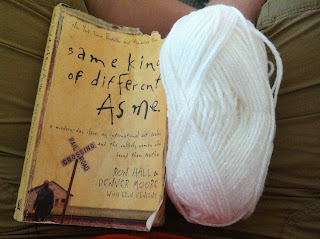 |
| Grab a book and your yarn. (This is my favorite book, READ IT ) |
|
|
|
 |
| I always put the tail at one end. |
|
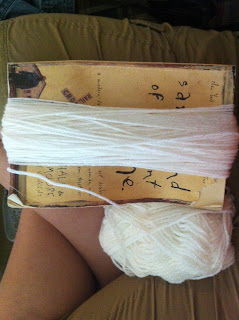 |
| Start wrapping it around and around and around. You can do this with the entire skein or how every much you want to dye. I usually do half and that usually makes a baby beanie with some left over. |
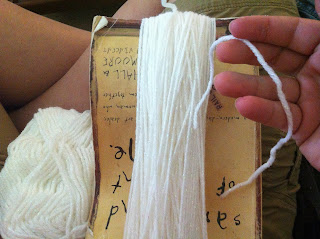 |
| Now cut the yarn (if you didn't use the entire skein) Cut 2 pieces of yarn that is about 6 inches long. I like to use the same yarn that I am about to dye. |
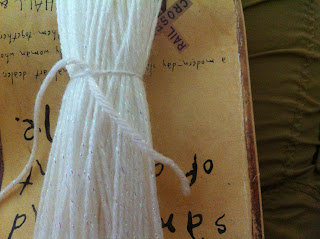 |
| Slide one of the pieces of yarn between the book and yarn and tie it. This will prevent it from getting all tangled in the end. |
|
|
 | | |
|
| Do the previous step on the back of the book as well. |
|
|
|
|
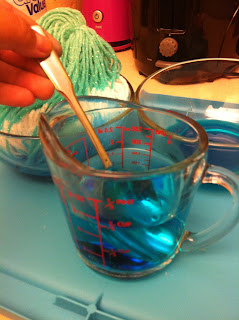
| No it is time to prep for your dye. It really depends on what color you are wanting to make. The more water you use the lighter the color you will get. I usually use about 3/4 cup for each bowl. After filling my cup I stick it in the microwave for 1 minute. |
 |
| While my water is heating up I pour about 3/4 cup of vinegar into each of the bowls that I am using. Then I add my dye and mix it with the vinegar. |
Once the water has been heated up, pour it into each bowl and mix it with the vinegar/food coloring.
 |
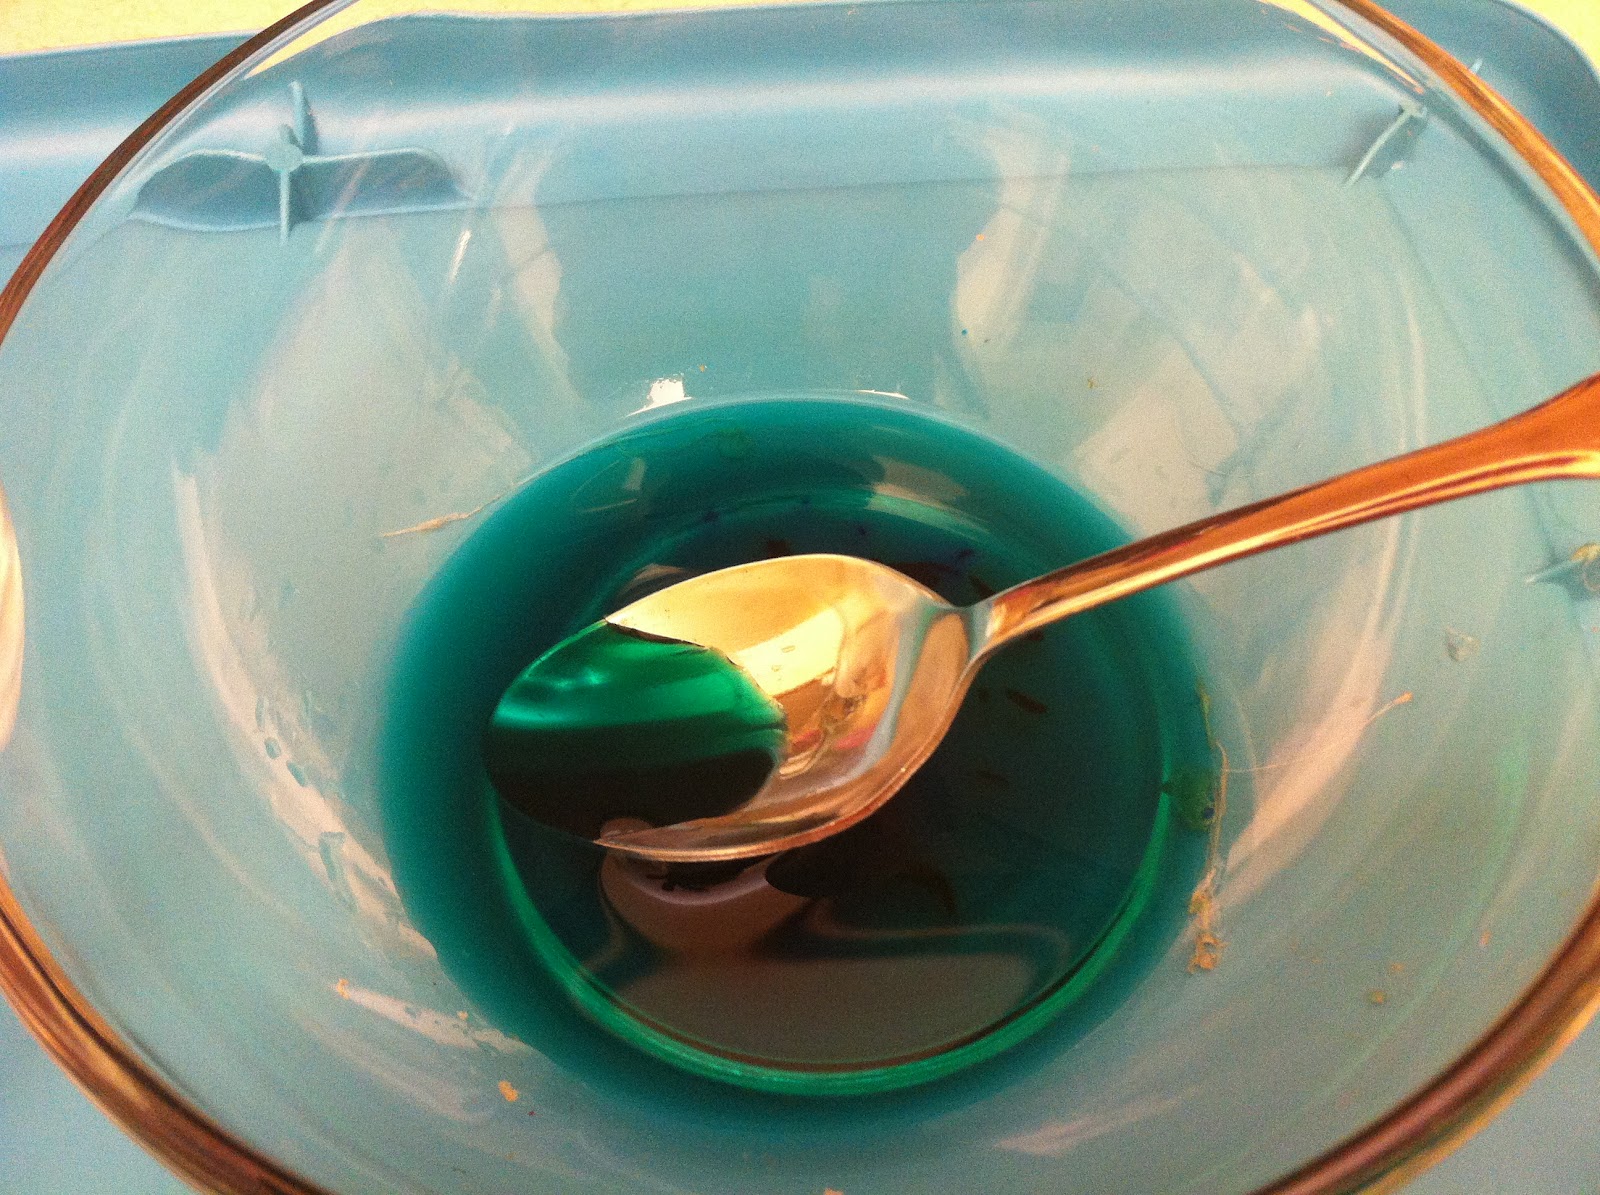
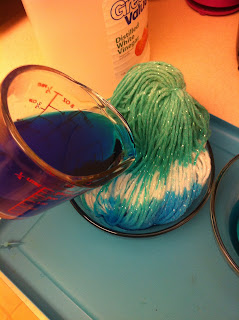
| Here's the messy part. If you noticed I stuck a rectangle plastic lid underneath the bowls. Its an easy clean up and keeps the dye off of the counters! Put part of the yarn into the dye. I use a spoon to help push it down in the dye. The longer you let it sit in the dye the darker it will get. |
Once you get the color you want gently squeeze the yarn back into the bowl that you just used. This is where the gloves come in handy! TRUST ME. My hands are bluish as I type this :) I didn't have gloves
Now put the yarn into your other color. Use the spoon again if you need to.
 |
| TIP: I realized I didn't make enough of my blue color. So I heated up some more water and just did my mixing in the cup I heated it up in. |
 |
| Then I poured it right onto the yarn. |
 |
| TIP: Gently spread parts of the yarn apart to make sure the insides are all getting dyed. |
 |
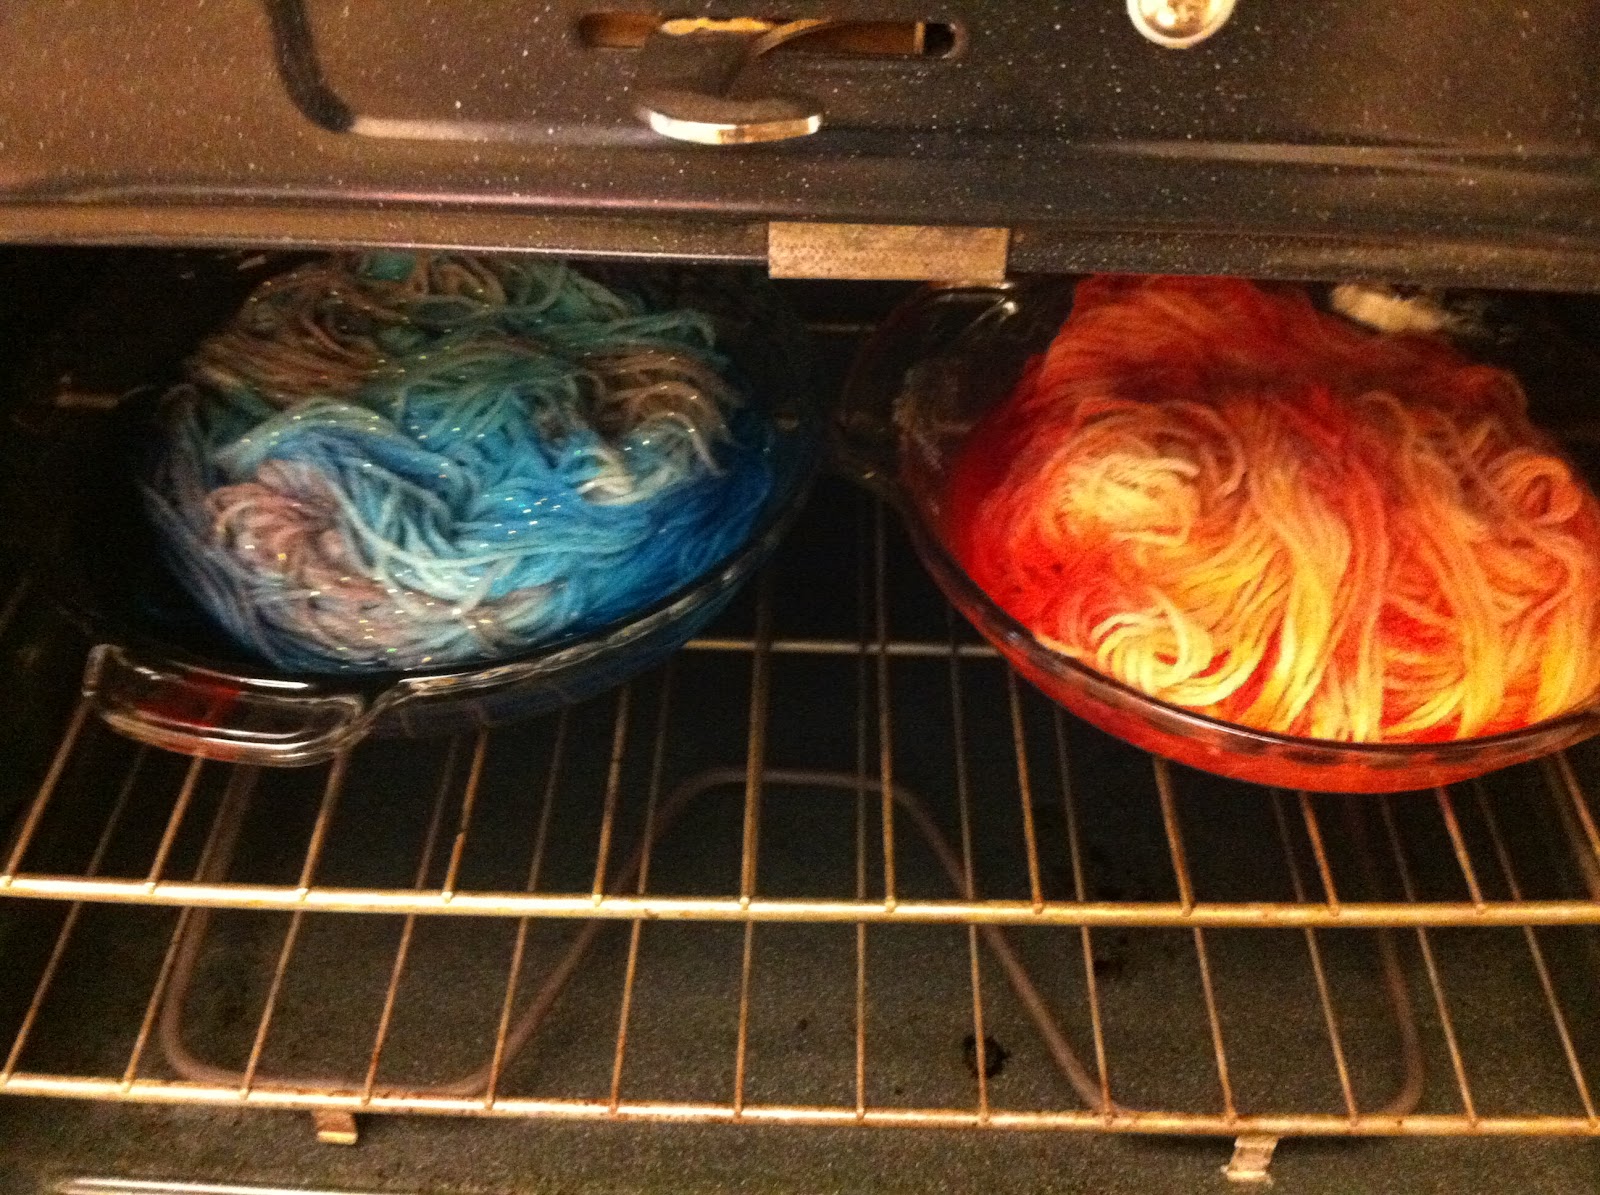
| Now your yarn is done! Well basically. I knew I was done using my first bowl so I dumped the dye out and rinsed it. I put my dye yarn into the bowl. HEY IT'S LESS TO CLEAN! Now it is time to bake it. This will help set the color. I microwave the yarn for 2 minutes on high. |
|
It is going to be SUPER hot so be careful! Your next step is to rinse under cool water. If you do not see any dye running out, then you're good to go. If you do, then you need to microwave it longer
I like to put mine in the dryer so it will dry quickly, but that is totally up to you.
 |
| See how it stayed untangled! Cut off the 2 strands that you tied around it. |
 |
| Fine the end. Ignore that needle I have no idea why that is in there. |
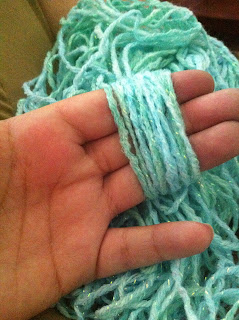 |
| I like to wrap mine around my fingers. |
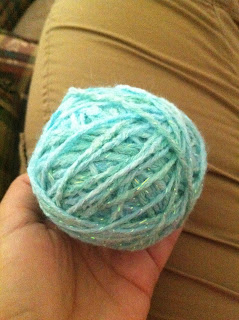 |
| and turn it into a ball. |
I hope all of this is very helpful for you all. I can't wait to see what you come up with.
Check me out on Facebook:
Granny in Style